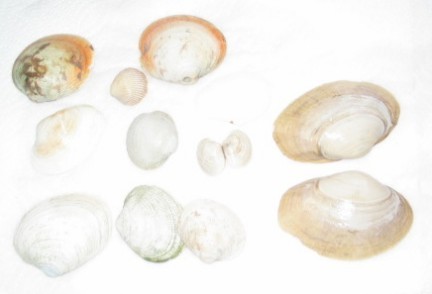
Stacy Swanson assisted in preparing these descriptions.
A Real "Lava" Lamp
This lamp was purchased, not homemade. You can see our version of the lava lamp below.
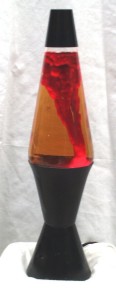
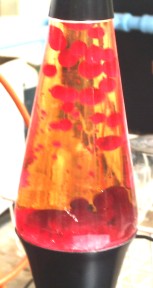
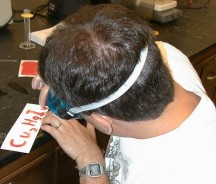
 ABOVE (LEFT): A lava lamp can take several hours to heat up the solid "lava"
(MIDDLE): After 90 minutes of heating, a few small spheres emerge. The wire coil found in the bottom of the container helps break the surface tension of descending bubbles.
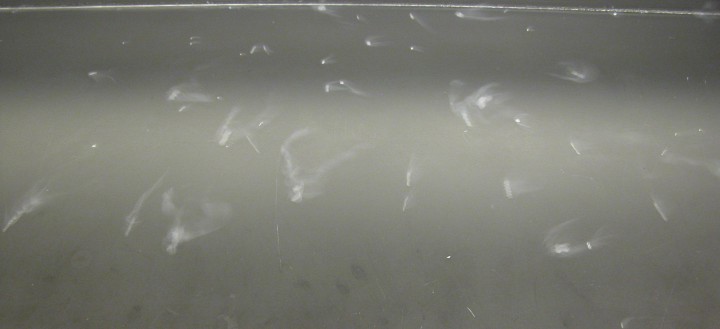
(RIGHT): Three and a half hours later, the lava is fully heated. You can see the "blobs" sliding past each other, but they do not coalesce until they reach the bottom of the lamp. Without the wire coil, this lava would not coalesce to form the mesmerizing blobs we all know and love.
A Homemade "Lava" Lamp
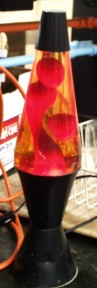
ABOVE (LEFT): A lava lamp can take several hours to heat up the solid "lava"
(MIDDLE): After 90 minutes of heating, a few small spheres emerge. The wire coil found in the bottom of the container helps break the surface tension of descending bubbles.
(RIGHT): Three and a half hours later, the lava is fully heated. You can see the "blobs" sliding past each other, but they do not coalesce until they reach the bottom of the lamp. Without the wire coil, this lava would not coalesce to form the mesmerizing blobs we all know and love.
A Homemade "Lava" Lamp
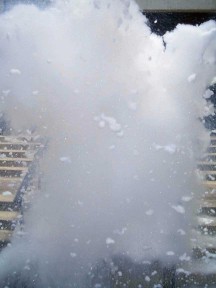
We set out to find a perfect homemade recipe that could be used in the lab to illustrate a variety of physical and chemical properties such as convection, solubility, surface tension, thermal expansion and density. After searching the net for recipes, we tried a mixture of mineral oil (lava) and isopropyl alcohol. This gave us reasonable results, but the isopropyl alcohol evaporates quickly and with heating it evaporates even more quickly. So, we tried the mixture shown above. It is a saturated sodium chloride/water solution with silicone oil as the lava. We used iodine to tint the silicone oil purple. A 60 watt light bulb was used to heat the solution, and a wire coil from a heating element was placed in the bottom of the beaker to help break the surface tension of the silicone oil so new blobs can form. As the light bulb heats the silicone oil, the density of the oil becomes less than the salt water and the oil rises to the top. We shielded the top of the beaker from the light to keep a temperature differential so that the lava would cool and become more dense. The density of the silicone oil becomes greater than the salt water and the silicone oil sinks. When picking ingredients, the densities need to be similar, and the coefficient of thermal expansion for the lava should be high relative to the surrounding liquid. Ideally, the mixture should be placed in a sealed container to prevent evaporation. Another homemade recipie and a bit of lava lamp history can be found at:
http://www.oozinggoo.com/
BELOW: A homemade lava lamp.

More history of lava lamps can be found at:
www.straightdope.com/classics/a2_359.html
www.uspto.gov/patft/index.html (you can see the original US patent (#3387396) through this search engine)
More lava lamp links can be found at:
http://www.lavalites.com/http://www.lavaworld.com/http://www.mathmos.co.uk/
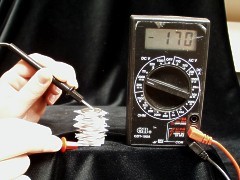
 >bend>
 >apply heat>
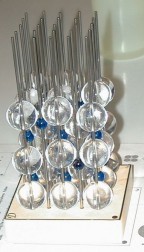
1.jpg)
1.jpg)
2.jpg)